
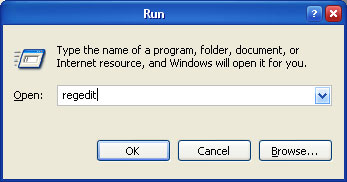
How To Remove Registry Entries Back up the Windows registry before editing it, so that you can quickly restore it later if something goes wrong. Please read the article Backing up and restoring the Windows registry to learn more. Remember, this step is very important! Launch the Registry Editor. Press the Start button and then click Run. Type in regedit into the Open: field. Then click on the OK button.
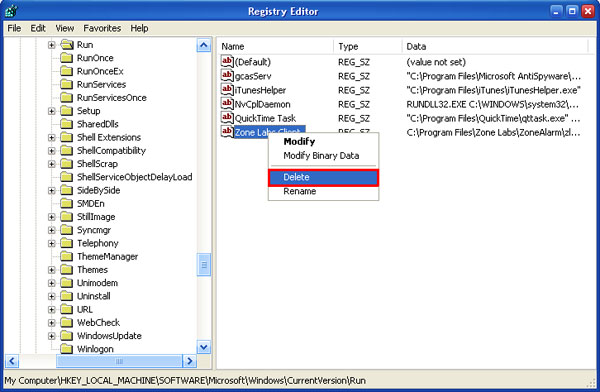
This program consists of two panes. Use the left pane (In the below image iit is designated by the red box) to navigate to certain registry key. In the right pane (it is in the blue box) you will see values, which belong to that selected key.
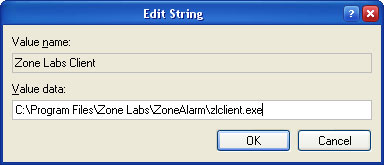
To edit the value, right-click on it and select the Modify option (In the image below it is designated by the red box) from the appeared menu.
You can also double-click on the value with you left mouse button or use the Edit (In the image below it is in the blue box) menu. Type in the preferred value in the appeared window and click OK. The same action can be performed with any other value or registry key.
Perform the same sequence of actions as just described in order to delete the value or the registry key. However, this time you will have to select the Delete option (In Below image it is in the red box) instead of Modify.
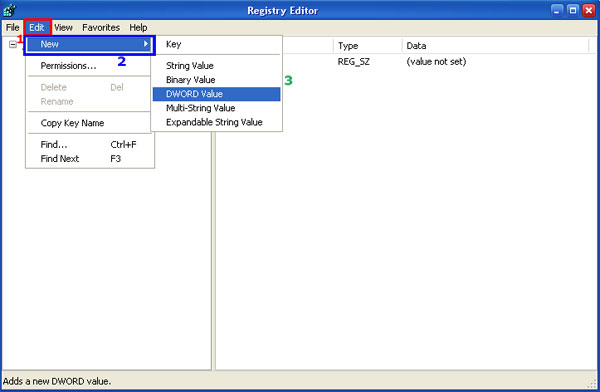
To add a new registry key or a new value, click on the Edit menu, select New and choose a type for the entry.
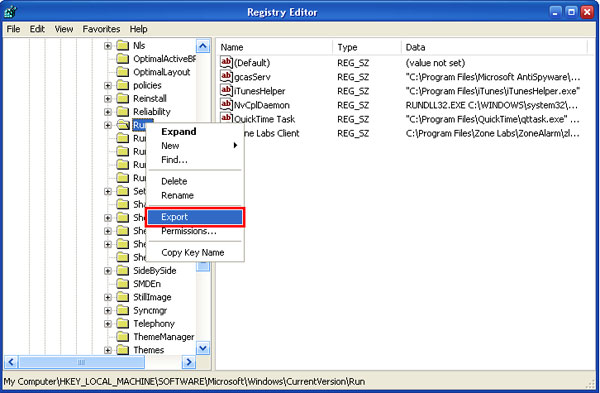
You can export any key or value from the registry to the defined file. Right-click on the object and select Export (In the image below it is in the red box).
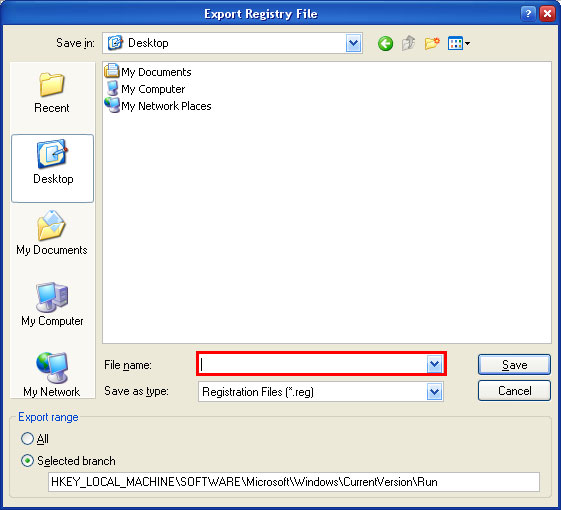
Enter a file name. Export registry files should have the .reg extension.
You can also import a certain value or a key. Click on the File menu and select Import. Then choose the file containing objects you want to import.
If after modifying the registry something goes wrong, you can restore the registry from a backup. Read the article Backing up and restoring the Windows registry to learn more.
|


Home  About Me Services Contact us Partners Web Design Administration About Me Services Contact us Partners Web Design AdministrationCT Website Design Blog Twitter Page Linkedin Profile In Home Computer Repair & CT Website Design By The Computer Guy |